


By Nicole Faires
Worm composting uses red wiggler worms to turn kitchen scraps into nutrient-rich fertilizer. This low-effort, odor-free method can be done indoors or outdoors with inexpensive materials, diverting food waste from landfills while nourishing your garden.
Key takeaways
- Worm composting (also known as vermicomposting) lets you recycle kitchen scraps into compost with minimal space and effort.
- To make your own, use a shallow, well‑ventilated bin with good drainage (like a plastic tote or wood bin) and a raised bottom.
- Provide balanced bedding materials and feed worms modest amounts, since overfeeding causes odors or flies.
- Harvest castings every few months and compost tea more frequently. Dilute tea before use.
The lowly worm gets almost no respect and is synonymous with an insult. This humble creature toils tirelessly eating the garbage of life and bulldozes its way through the dirt almost blindly, with no eyes or ears to guide it.
Callout:
Use nature’s digesters to help eliminate food waste and produce nutrient-rich compost for your garden or house plants.
But, as you might guess, worms have an important place in the ecosystem. These legions of tiny diggers include over 5,000 species. According to Charles Darwin, humans wouldn’t exist without them. “It may be doubted whether there are many other animals which have played so important a part in the history of the world, as have these lowly organized creatures,” he once wrote.
What is worm composting?
The good news? You can harness this incredibly efficient composting power for yourself and change the way your family disposes of waste, with very little time and money. A homemade worm composter costs about $30. A luxurious, store-bought worm hotel usually won’t cost more than $150. If you consider the cost of purchasing organic fertilizer for your garden, even the most expensive composter could pay for itself in one growing season.
Worm composting, also known as vermicomposting or vermiculture, produces natural, odor-free compost that takes about 30 minutes per week to maintain. The biggest time investment is harvesting your worm castings (the precious poop/garden fertilizer). That happens about every 3-6 months.
Can worms truly be the panacea of stink-free composting that many people claim? Yes, if you do things the right way.
The proof is in how many municipalities promote vermicomposting as a way of diverting food waste away from landfills. Worm composting is now also used widely by large commercial dairy farms as one of the most efficient ways of processing manure.

A tiered worm composting bin system directs worms to move between layers as compost matures, making harvesting easy.
Why choose worm composting?
Worm composting has many benefits. These include:
Easy household waste reduction
Worm composting provides a great way to divert food scraps away from landfills. A pound of red wiggler worms capable of consuming half their body weight in organic waste daily. This means approximately three pounds of kitchen scraps per week can be transformed into valuable compost rather than contributing to landfill overflow.
Cost-effective fertilizer
Setting up a worm composting system requires minimal investment. The resulting compost and concentrated worm tea can replace expensive store-bought fertilizers.
Odor-free and low maintenance
When properly managed, worm composting produces natural, odor-free compost that requires minimal weekly maintenance. The system operates quietly indoors or outdoors without the unpleasant smells often associated with traditional composting methods.
Superior soil amendment
Worm castings are a nutrient-dense fertilizer that enriches soil and enhances plant growth naturally. Research has shown that vermicompost helps suppress plant diseases while providing essential nutrients in a form that plants can easily absorb. The liquid "compost tea" that drains from the bin serves as a concentrated fertilizer that can be diluted and applied to give plants an extra nutrient boost.
Space-efficient and adaptable
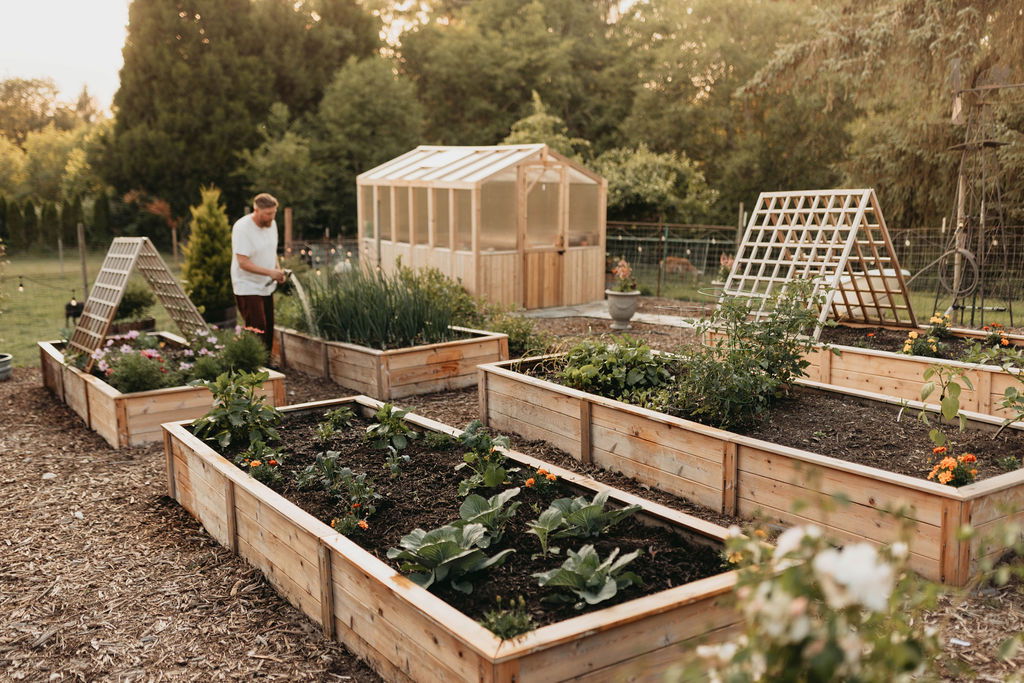
Worm composting systems can fit into virtually any living situation, from small apartments to large outdoor gardens. You can tuck indoor bins under sinks or in closets, while outdoor systems can be scaled up for larger operations like urban farms or commercial dairy operations.
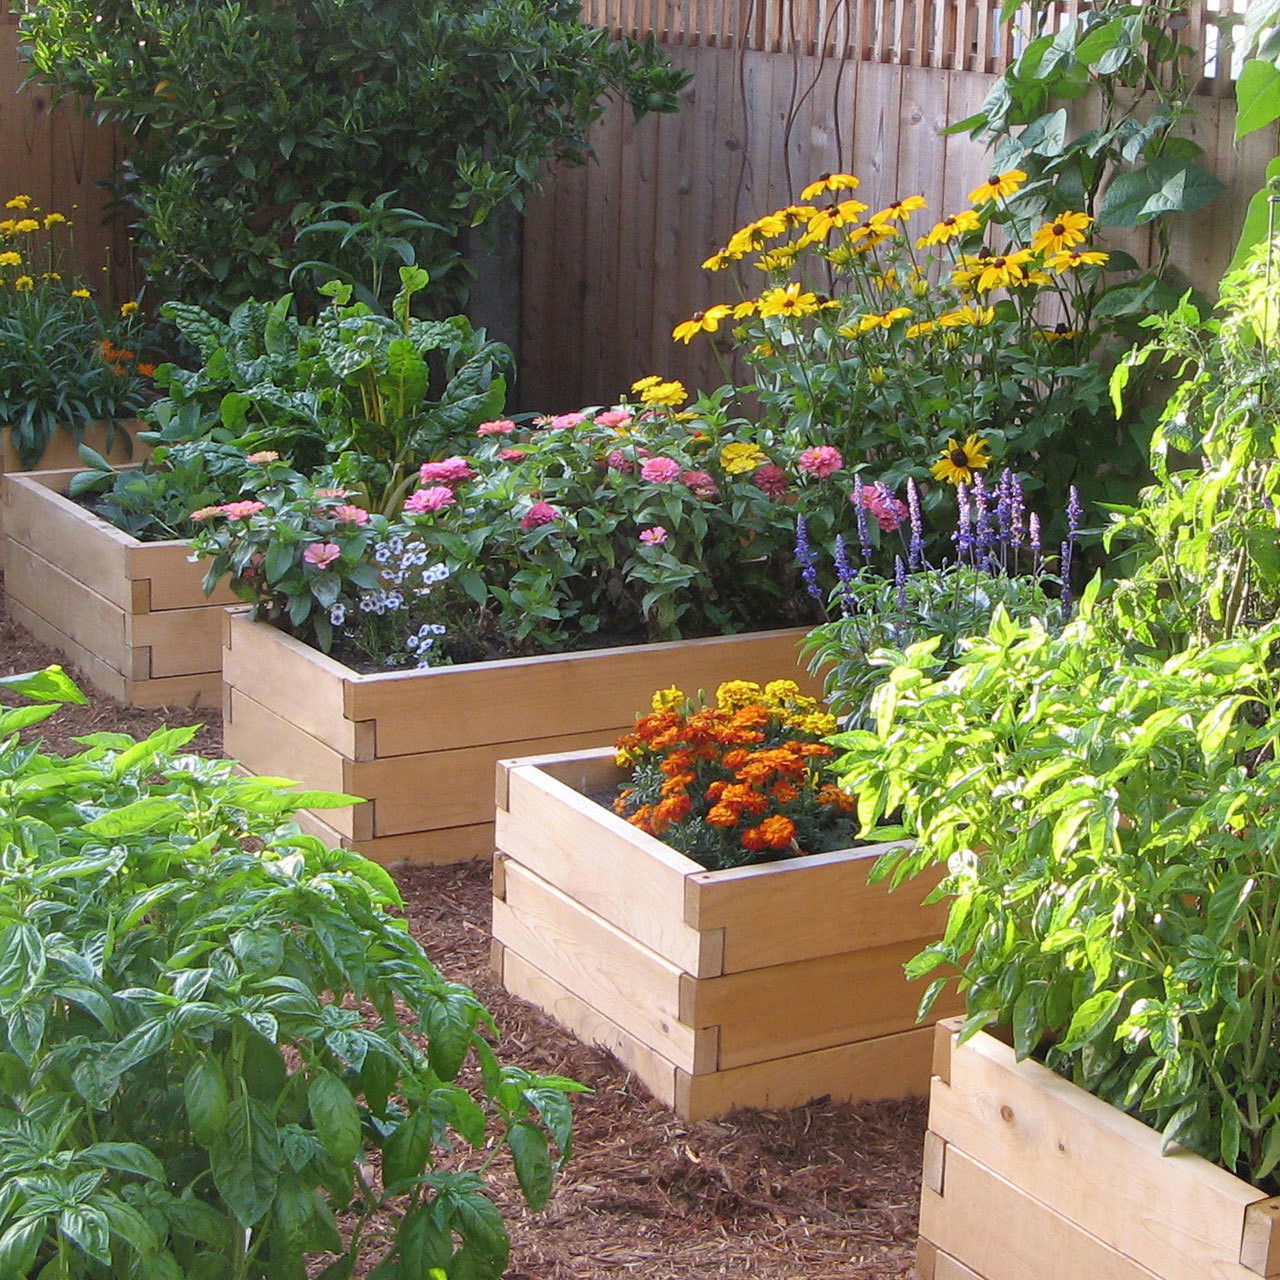
How to build or choose a worm bin
At its simplest, a worm composter is a bin with holes for ventilation and moisture. It’s almost always made with plastic and raised off the ground to allow water to drain out the bottom.
Indoor worm bins:
For indoor worm bins, one DIY model is a plastic storage bin or tote with a lid. Simply drill a series of holes in the sides and bottom a few inches apart. Do not drill holes in the lid. Worms don’t need light, and even though there shouldn’t be much moisture coming out the bottom, the holes are there in case it needs to drain. The side wall holes are for better air flow.
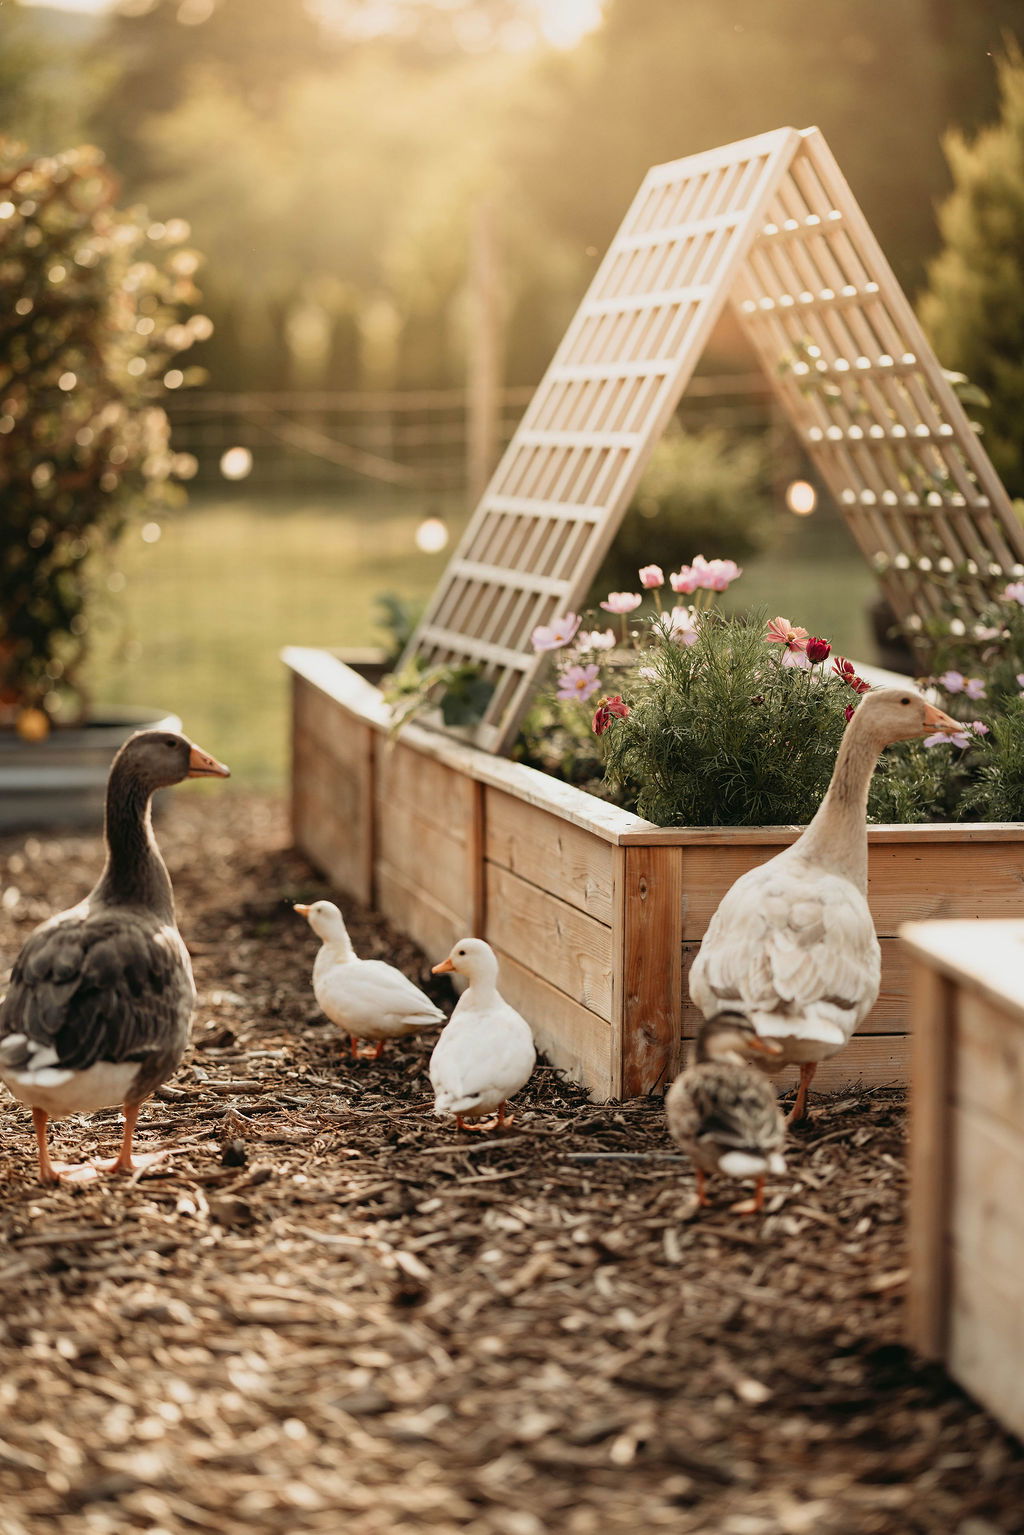
Outdoor worm bins:
If you decide you want your worm bin outside, many people have been successful using a simple wood box with gaps between the planks (like a pallet). This is lined with a heavy-duty plastic, such as greenhouse plastic, which is punctured with holes for drainage and airflow. Both types of bins need to be raised up.
Related: How to Speed Up Worm Composting
How do I build a DIY worm bin?
A DIY plastic bin can be set inside a slightly larger second bin, and many people recommend a large tote that will completely envelope the first bin. In fact, this design often leaves out the lid on the first, inner bin and uses the large lid of the second bin for protection.
In my experience, I have found that this closed-up environment completely counteracts the ventilation holes and makes the bin retain too much moisture.
Instead, the Environmental Protection Agency has recommended a great DIY bin design with a short bin acting as a tray to catch any drippings from the larger bin. The one thing this design doesn’t include is elevation, which can be achieved by gluing a few small plastic food containers (such as for cream cheese or sour cream) upside down on the bottom.
The pallet bin should simply have one pallet on the bottom as the floor. With any worm bin design, the goal is good ventilation, darkness, and drainage.
What bedding & materials to use and avoid
What materials do worms need?
- leaves
- straw
- shredded paper
- shredded cardboard
- egg cartons
I recommend leaving out the leaves and straw if it’s an indoor bin, because these materials can introduce insects and other outdoor creatures that you might not want reproducing inside your house.
Once you’ve prepared a nice bed, add a big scoop of garden soil. You can use a juice pitcher filled with dirt, and then use the same pitcher to pour in some water. You want the moisture level to be the same as a wet sponge – not too wet, not too dry.
If you make the bedding too wet by accident, add more dry material and/or let it drip off. Don’t get anxious and add the worms before the bedding is right. I made that mistake once, and it was very difficult to bring the moisture level down later because adding food waste raises the moisture level dramatically in the bin.
If troubleshooting fails to correct your problem, consider adjusting your worm bedding with one of the following amendments:
| Material | Purpose |
|---|---|
| Coconut coir | Balances out nitrogen-rich materials like kitchen scraps and grass clippings, controls moisture, and improves quality of worm castings. |
|
Glacial rock dust |
Enhances the microbial population, increases nutrients, and improves water retention. |
|
Pumice |
Increases air circulation, prevents matting, and controls moisture. |
Where should I locate the bin (inside vs outside)?
We’ve talked about both inside and outside worm bins above, but they both have their pros and cons in any climate. When your bin is outside, there are two big benefits: capacity and a lot less attention to detail.
You can put your worms out there and not have to worry so much about getting it just right, because it won’t matter if it smells a little more. But if you live anywhere other than very warm climates, your worms will either die in the winter or you’ll have to bring them inside anyway.
With an inside bin you can keep worms even in an apartment, but your capacity will always be limited – you will only be able to have a certain amount of worms, which will eat only a certain amount of food, or it will get stinky and go wrong.
If you’re interested in building a larger capacity outdoor system that works well for a larger home garden or urban farm, check out this design by Nature’s Always Right, an urban farm located in Lemon Grove, California.

Buying, feeding & maintaining the bin
What worms should you buy?
The type of worm most commonly used for vermicomposting is the red wiggler. That’s why this method of vermicomposting is also often called red worm composting. The red wiggler species (Eisenia fetida) loves living in rotting organic material and manure and is extremely efficient at breaking it down. Unlike your typical garden earthworm, they don’t mind living in a small bin and won’t try to burrow down deeper.
Red wigglers used to only be available at bait shops. Today they have become so popular, there are many companies that will ship them to you by the bag. A pound of worms will eat half their body weight in waste every day. If you collect your food waste and weigh it, you can see exactly how many worms you’ll need.
A pound of worms includes about 1000 worms and should be more than two large handfuls. Here’s a video of what one pound of worms should look like.
It’s important to know how many worms you should be getting, because your worm bin could fail without this information. Twice my own worm bins had a fly infestation that compromised the bin. I couldn’t figure out why.
It turned out that two different companies severely shorted me on the quantity of worms, because I had no idea what a pound of worms should look like. The result was that I put in far too much food for the worms, and the waste rotted and bred flies.
What should you feed your worms?
Worms can eat almost any fruit or vegetable food waste. Here are some of the most common categories to remember:
Do feed your worms:
All fruits and vegetables except those listed below
Coffee grounds and filters
Paper napkins
Shredded paper towels
Non-plastic teabags
Shredded brown boxboard or cardboard
Don’t feed your worms:
Anything that comes from an animal—no fats, bones, dairy, or meat
Tough stems
Onions, garlic, leeks or shallots
Cooked and seasoned vegetables
Spicy or salty (e.g., pickled) foods
Too much citrus (no more than 1/5 of the total waste you are adding)
Dog or cat feces
Maintaining the bin
To add food to your bin, dig a hole and bury it beneath the top layer of bedding. It helps if you break up the larger pieces. You should also add a handful of shredded paper and check if there’s something left over that the worms are avoiding from previous feeds. Remove anything they didn’t eat.
As mentioned before, worms will eat half their body weight every day. However, when you first get them they will be a little slow to start. Begin with small amounts of food and check to see how long it takes them to eat it. Increase the amount until you are adding the equivalent to half their weight daily.
If they seem to be leaving a lot of waste, chop up the food you’re adding into smaller pieces. You can realistically expect one pound of worms to eat at least three pounds a week and twelve pounds of waste per month.
Harvesting worm castings & compost tea
Worm compost can be used like any high-nutrient fertilizer: sprinkle on the surface of the soil or mix in around plants. But be careful not to add too much: it can burn tender stems.
There are two main ways to harvest your worm compost: by dumping it out completely or by luring the worms away from the completed compost. In my experience, the dump method is easiest if you have a small homemade bin. The lure method works well if you invest in a stackable system like the Worm Factory 360 Composter.
Lure method
Composters like the Worm Factory 360 allow you to harvest compost from your bin easily, without dumping out the worms. They also remove some of the risk of odor by having a better drainage system than a bin with holes in the bottom.
As the bins fill with compost, you add another stackable tray on top. The worms migrate upstairs to the new layer of organic waste, lured by the presence of fresh food. The finished compost is left behind in the lower trays: it’s that simple.
The Worm Factory 360 also offers a refill kit that includes coconut coir, gravel rock dust and other materials that will help keep pH levels in balance and promote stink-free, aerobic composting.

Dump method
To harvest compost from your homemade bin, the easiest method is to dump the contents upside down on a tarp in the sunshine or under a bright light. The worms will travel down to the bottom of the pile, which is your top layer of bedding (and the non-composted material). You are then free to scoop off the compost from the top of the pile and from around the worms.
This is a good time to clean out any unwanted bits using a worm composting sifter and add new, fresh bedding.
Compost tea
The liquid that drains from the bottom of the bin is a highly concentrated worm compost tea (or worm leachate). This tea should be diluted at a ratio of 1 part leachate to 10 parts water to prevent any burning.
If you really want to understand how vermicompost helps suppress plant diseases and provides nutrients to plants, check out this vermicomposting research from Cornell University.
Common problems & troubleshooting
Being a stickler about how much food you add to your bin will help prevent a lot of problems. Here’s how to deal with common worm bin issues:
- Your worm bin has fruit flies: If you’ve already saved compost on your kitchen counter, you know how easy it is to get a fruit fly infestation. Prevention is key. Make sure to cover the food waste well under the bedding, cut it up into little pieces, and don’t let anything sit and rot in the bin.
- Your composter stinks: If your compost starts to smell, dig through the bedding and remove any food waste that appears to be rotting. The worms should really be eating anything before it can get moldy, but they may let something sit to soften up. Cutting up larger pieces will help them process food faster. A bad smell can also signal a moisture problem. Add some dry cardboard and paper bedding to help balance things out.
- Worms are crawling out of the bin: It’s normal for a few worms to come out of the bin, but if you have a lot of escapees, you probably have an environmental problem. This will include moisture, temperature and possibly even infestations. If the bin is too dry, add some water. If it’s too wet, add more bedding. Check for insect larvae or other issues under the top layer of bedding.
- There’s an infestation: Sometimes other creatures will love the moist, dark environment of the bin – even just to lay their eggs. If you notice insects, eggs or even furry creatures, take the bin outside and harvest the castings. This is a good time to clean out the bin and remove any rotting food or old bedding. Start off fresh and put the worms back in their home. If you had a rodent invader, hold the lid down with bungee cords or rocks.
Helping your worm compost thrive
If conditions are right in your composter, your red worms will breed when they are over two months old. That means your first batch should double their population within a few months. Don’t worry about overpopulation, however. If there’s not enough food, some will die and compost into the soil, keeping the bin in balance.
Worms can live four or five years, but they probably won’t last that long inside your bin. That’s why reproduction is an essential part of keeping your bin going. You may start to see baby worms right away.
A Worm Factory 360 can hold over 10,000 worms, so it will probably take a while for you to get to the point that you’ll need a second bin. This is another huge benefit of the Worm Factory: it can hold 10x as many worms in an 18” space.
Frequently asked questions (FAQ)
1.What are the best worms for composting?
The best worm for composting is the red wiggler (Eisenia fetida), known for thriving in shallow composting bins and quickly breaking down organic waste. Other types of worms for composting include European nightcrawlers, which are larger than red wigglers and can process their own weight in food per day.
2. How should you use worm compost?
You can mix worm compost (also called vermicompost) into garden soil, use it as a top dressing, or create compost tea to nourish plants.
3. What is worm compost?
Worm compost, or vermicompost, is nutrient-rich humus created from worms digesting organic matter.
4. How do worm composters work?
Worm bins house worms that consume food scraps and produce nutrient-dense castings, which enrich soil and enhance plant growth.
5. What is worm composting also known as?
Worm composting is also known as a vermicomposting or vermiculture. The term “vermi” comes from the Latin word “vermis,” meaning worm.
6. Can I compost meat or dairy in a worm bin?
No, you should not add meat, dairy, fats or bones to your worm bin. Worms can process almost any fruit or vegetable food waste, but animal products can create odor problems and attract pests. Stick to plant-based kitchen scraps, coffee grounds, filters, napkins, shredded paper towels, and non-plastic tea bags.
7. How often should I feed worms?
When you first get your worms, start with small amounts of food and monitor how quickly they eat it, gradually increasing the quantity. Bury food waste beneath the top layer of bedding and add a handful of shredded paper with each feeding to maintain proper moisture and carbon balance.
8. My bin smells – what's wrong?
If your bin smells, it's likely due to rotting food waste or excess moisture. Dig through the bedding and remove any food that appears to be rotting or moldy – this indicates you're adding food faster than the worms can process it. Bad smells can also signal moisture problems from too much wet waste accumulating.
9. How long until I can harvest compost/castings?
You can typically harvest finished worm castings every 3-6 months, depending on your bin size, the number of worms and how much food waste you're adding. The compost is ready when it has transformed into dark, crumbly material that looks like rich soil.
10. How should I store/use worm compost or compost tea?
Worm compost (castings) can be used immediately or stored in a breathable container for later use. Apply it like any high-nutrient fertilizer by sprinkling it on the soil surface or mixing it around plants, but use it sparingly as the concentrated nutrients can burn tender plant stems if overapplied. The liquid that drains from your bin—called worm compost tea or leachate—is highly concentrated and should be diluted at a ratio of 1 part tea to 10 parts water before applying to plants.
Resources / further reading
Check out these other resources to get started on your worm composting adventure:
Composting With Worms from the Oregon State University Extension
Winter Worm Composting guide from Michigan State University Extension
Worm composting made easy
Worm composting offers a simple, sustainable way to turn kitchen scraps into valuable fertilizer while reducing food waste. With minimal cost and maintenance, vermicomposting fits easily into any living space, from apartments to backyards. By following basic care guidelines and giving your worms time to settle in, you’ll soon enjoy a thriving system—and the satisfaction of working with nature’s most efficient decomposers.
 Responses (0)
About the Author
Nicole Faires
Nicole Faires is an urban farmer and best-selling author of books on sustainable agriculture and food policy. Originally from Montana, she now lives with her family on the West Coast.