


All energy-efficient home options are not created equal. Consider the following when improving the 'green' in your home.
Before deciding to build a house, my husband and I spent several years searching the market for an energy-efficient home. We were acutely aware that heating and cooling costs were no small matter over the long term. Also on our minds were lighting and other energy uses given the skyrocketing price of our electricity bill. And we wanted to lessen our energy-use footprint for its environmental benefits as well.
The more we searched, the more we felt that the prices demanded by our local housing market weren’t worth our investment. Most houses were poorly oriented on their lots to make use of the free and natural lighting provided by the sun. Others lacked adequate air sealing, good quality windows, or enough insulation to reduce heating and cooling costs. Did we really want to sink our life savings into a house that would cost so much to live in and contribute excessively to global warming?
After weighing the options, we decided that new construction was our best choice. Working with an architect (and on a tight budget), we focused on creating an affordable, energy-efficient house that exceeded building code requirements in our area. Yet even finding a builder to work with our design was eye opening. More than one contractor suggested we might want to forgo the energy efficient design because “we’d never get our investment back again” when we sold the house.
Despite this prediction, we proceeded with construction and are already pleased with the results. Here are five things we’re glad to have included in the design.
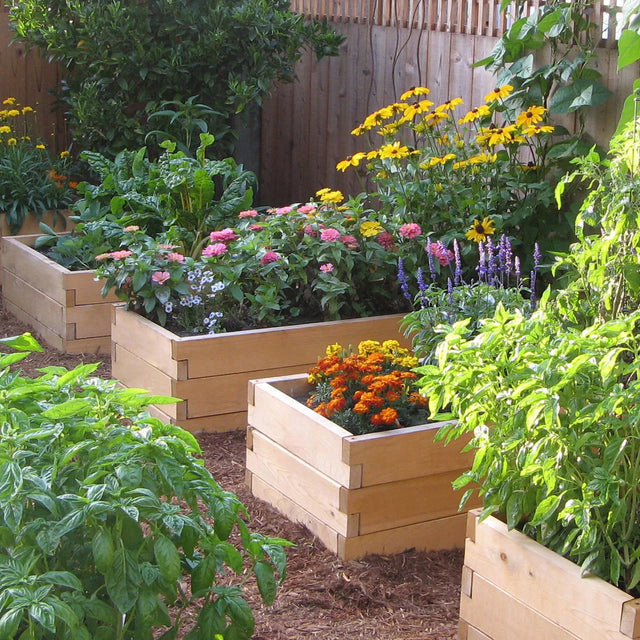
Efficiency #1: Orientation for Solar Heat and Light
One thing that you can’t change about any house is the placement of that house on its lot. Carefully considering solar influences in both summer and winter is a most important step in reducing overall energy costs for your home. I can’t count the number of houses we viewed whose showy, north-facing windows needlessly exposed the interior to the elements. In the same way, I can’t fathom why so many houses built today fail to consider the free source of lighting shining in the sky for so many hours a day. Orienting your house to take advantage of the sun not only saves energy costs, it also creates pleasant interior living spaces bathed in natural light.
But taking advantage of this resource requires site-specific planning. Your location will determine how much you can make use of the sun’s energy and whether or not it’s feasible to passively harness the sun’s heat (which requires an unobstructed view to the south) or to simply maximize daylight to your interior. If a passive solar design is feasible, adding thermal mass to your house’s design will improve retention of the sun’s heat during the seasons when you want it most.

Extra wide overhangs prevent summer sun from overheating south-facing living spaces.
Orienting our house to effectively capture the sun’s natural light means that interior living spaces now require minimal or no artificial lighting during the daytime. Attention to the length of overhangs ensures that light enters our south-facing windows during the winter months to warm the interior. During the summer, those same overhangs prevent sunlight from overheating the interior by blocking their entrance. And while we don’t get a lot of bright winter sun in the Pacific Northwest, we appreciate those January days when sun floods the interior of our home and little other heating is necessary.
Efficiency #2: Energy-Efficient Air Barrier
Carefully sealing your house to prevent warm air from escaping and cold air from encroaching is one of the most effective ways to cut heating and cooling costs. Effective air sealing also increases the comfort of your home and creates better indoor air quality for those with environmental allergies.
Conventional homes generally include several different kinds of air sealing, including an interior vapor barrier, an exterior house wrap, caulking, and weather stripping. To increase energy efficiency, our architect recommended a continuous air barrier around the entire house, which effectively seals off the interior living space and prevents leakage. This method of air sealing requires increased attention to air barrier application and specific protocols around transitions between materials, particularly near windows and doors.

Windows receive extra care during sealing as part of airtight construction.
In our case, we opted for airtight drywall installation, which includes sealing seams, joints, and openings in the building envelope during construction. The drywall transitions to a sealed plastic vapor barrier in the ceiling and a cement slab below. A little extra effort during the building phase with caulking, taping and/or spray foam means we now have a snug house with extremely low heating costs—less than half of what conventional houses of a similar size would cost to heat. The rebate from our local energy provider was also a welcome bonus.
Airtight construction does require proper ventilation, however, or the interior air could become stale, humid and unpleasant. To ensure adequate air circulation and clean indoor air, we opted for a heat recovery ventilator (HRV), which comes with a basic filter. In our previous home, several family members suffered from pollen and mold allergies. In this home, those are completely absent.
Efficiency #3: Extra Thick Walls (With No Thermal Bridging)

A close-up shows the mineral wool “blanket” that will lay beneath the house’s exterior siding.
Adding depth to your wall construction means more space to fill with insulation. Today there are many different wall designs on the market that slow conductive heat flow from a house. On the advice of our architect, we chose a double wall construction (two exterior walls running parallel) with staggered studs. The wall cavities are densely packed with blown-in cellulose (3.5 pounds per cubic foot, so it won’t settle).
We also opted for two inches of rigid mineral wool insulation board on the exterior. The extra space provided by the double walls combined with the mineral wool produces an R-value of 40. (There is R 60 in the ceiling where space permitted even more insulation). The staggered stud construction and rock wool blanket means that no single stud or plate will conduct cold air from the outside of the house directly into our living space. The overall result is one of steady temperature and comfort, with very low heating inputs.
Efficiency #4: High Quality Windows
If you have committed a portion of your construction budget to reducing heat loss through improved insulation or airtight construction, you won’t want to ignore the weak spots in your house’s overall thermal efficiency: windows. Doing so will mean unpleasant draughts in your home and possibly condensation on your windowpanes.
One important rule of thumb is that the standard of your windows should match the standard of your house’s overall insulation. High quality, well-sealed windows with high R values are key, but the type of sealing, insulation, and glazing will depend on your geographical location.
In northern climates, triple-glazed and insulated windows offer added comfort to homes striving for energy efficiency. In other locations, double-glazing provides adequate coverage and may even absorb more heat from the sun than their triple-paned cousins. Some homeowners opt for a combination of double and triple glazing (as we did) to maximize solar heat gain in the south and protect from heat loss in the north, east, and west. Check your area’s specifications with your local government agency (some resources are included below).

A mix of casement and fixed windows minimizes heat loss.
Window style is also an important consideration. Casement windows are more energy efficient than sliders because they compress against the frame when closed, providing a tighter seal. They also provide better ventilation (many styles can be cranked completely open) and are more adaptable to a variety of locations. Of course, fixed windows are the best of all, so carefully considering the number of opening windows and the direction they face is another important step.
Efficiency #5: “Solar Ready” Design and Electrical Systems
Building an energy-efficient home usually requires added investment into your building envelope during construction. This means that homeowners striving for energy efficiencies often spend more on walls, windows and doors up front, but reap the benefits over the long term. If you are working on a budget comparable to a conventional home, but have aspirations to actively harness nature’s energy with things like solar panels, you may face some difficult choices during your planning phase.
One proactive way to prepare your house for renewable energy use is to opt for “solar ready” design and electrical systems during construction. Making a house solar ready includes considering measures like those mentioned above (south-facing orientation and minimal shading). It also includes designing and building a structure that will accommodate photovoltaic (PV) systems down the road.

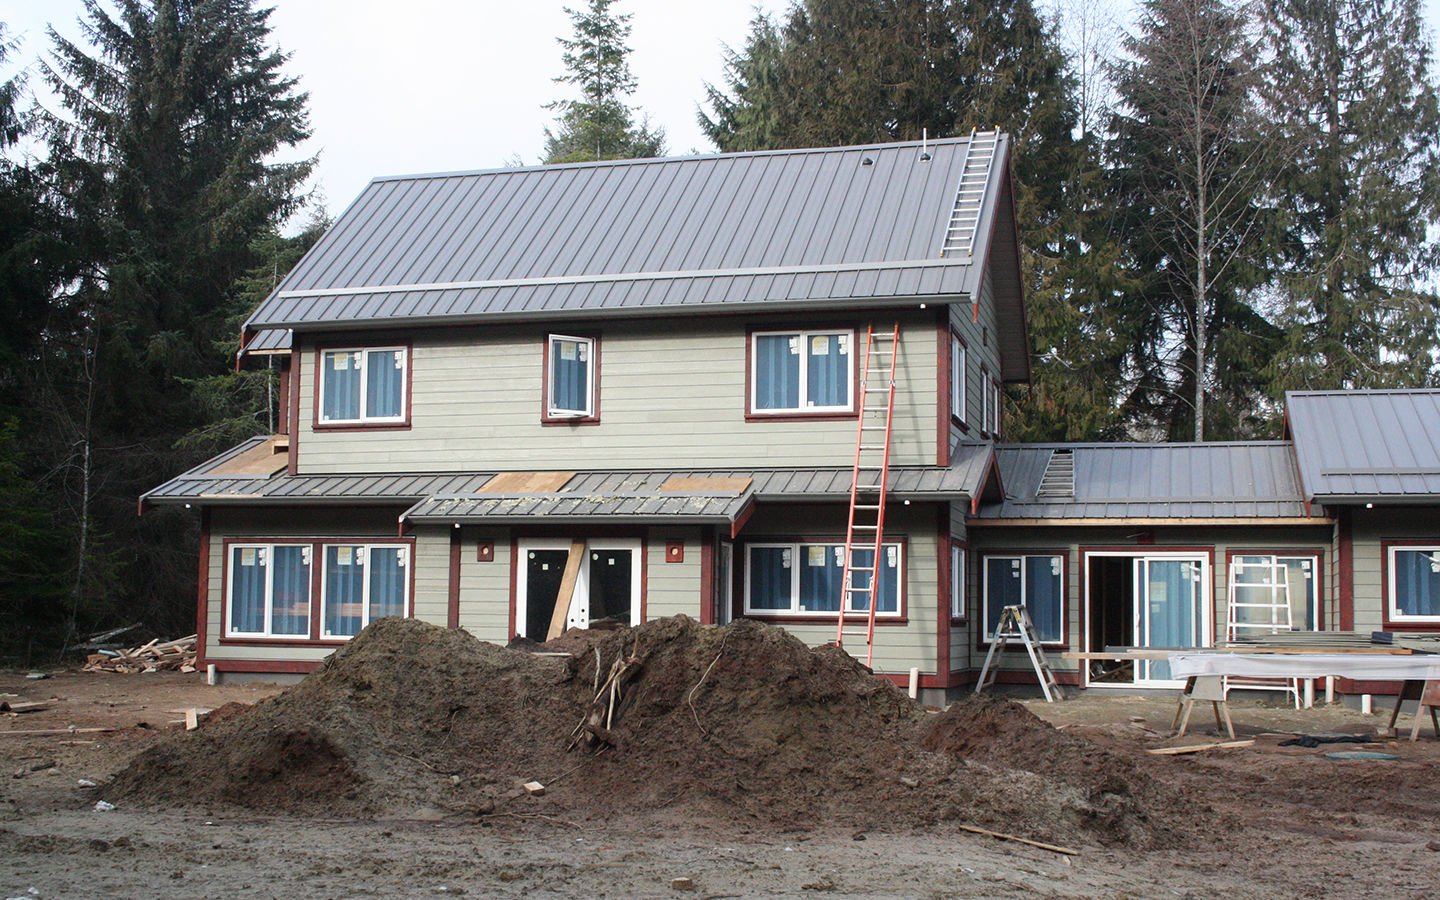
A roof pitch of 45 degrees is optimal for solar energy collection.
The solar industry recommends a roof pitch of 12:12 or 45 degrees as the best choice for solar panels. Our electrician also pre-installed a conduit and ensured accommodation for a future solar PV system in the electrical panel. This last item saves costly retrofits and means that solar energy is closer to becoming a reality for our energy efficient home.
Putting it All Together
Building an energy-efficient home for long-term cost savings and comfort is increasingly accessible to consumers. As technology evolves and consumer demand multiplies, the eco-friendly home options will likely also expand. After three years of living in our house, we are seeing the results of energy efficient inputs every time we get our hydro bill. We are also living in a comfortable, pleasant environment that benefits our health and our children. I’m glad to say the builders who said we would never reap the rewards of our investment were wrong. These benefits are already reward enough.
Resources:
US Department of Energy
Natural Resources Canada window ratings
 Responses (0)
About the Author
Shannon Cowan
The blog editor at Eartheasy.com, Shannon lives on six acres of land with her husband, daughters, and backyard poultry flock.