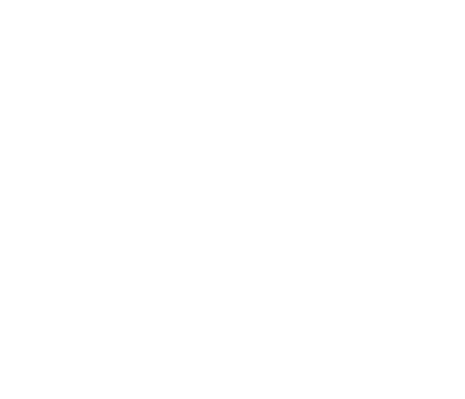

It’s time to think about delivering water to all those thirsty crops.
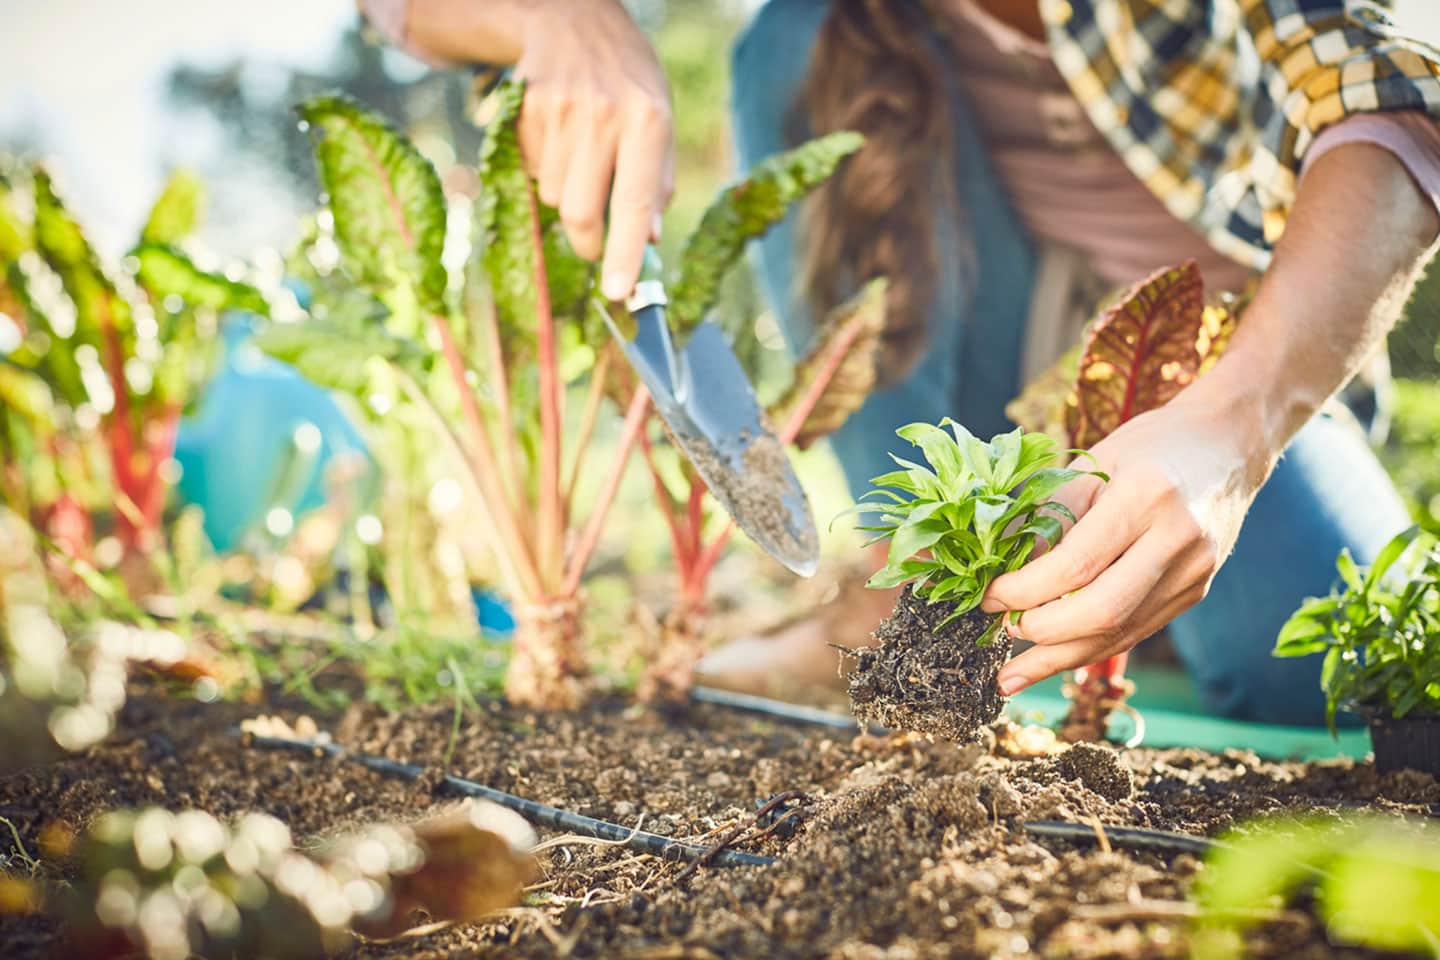
With the dry season lengthening and vegetable plots underway in most parts of the country, it’s time to think about delivering water to all those thirsty crops. Several options exist for irrigating your garden, and each one has its benefits and limitations. The size, location, and configuration of your garden will influence whether a drip irrigation system versus a soaker hose will work best for you.
Drip irrigation
A drip irrigation system consists of long tubes fitted with emitters. Secondary tubes branch off a main water line, which may be connected to a tap fitted with a pressure regulator, filter, and backflow valve. Drip systems are usually made from polyethylene plastic and are widely available from irrigation suppliers and hardware stores. Different types of drip irrigation include:
-
Drip tape
This flat-style tubing requires a pressure reducer in the waterline to function optimally. It works well for subsurface installations, but isn’t usually manufactured to last more than a few seasons.
-
Drip line
This round tubing is manufactured with heavier duty plastic that will function well for multiple seasons. You can purchase drip line with pre-installed emitters (best for crops planted at regular intervals) or separate emitters that you install yourself (ideal for customized spacing).

A sturdy drip line fitted with emitters delivers water to garden vegetables.
Benefits
- Drip irrigation systems deliver water directly to the base of your plants, meaning that little is misdirected or lost to evaporation. Since they generally water slowly, over a long period of time, the water penetrates over a broad radius and deep into the root zone.
- Drip systems consist of several components, all of which are easy to install. You can also configure your system to target certain areas of the garden while preventing flow to others. This means you can water different zones at the same time, making drip irrigation a good choice for large gardens with areas that remain fallow early or late in the season.
- If you garden on a slope, you can install pressure-compensating emitters to ensure all areas of your garden receive equal amounts of moisture, no matter how hilly. You can also choose customized emitters to work with your garden’s soil type.
- If you inadvertently stab part of your drip system with a digging fork, it’s easy to repair and reconfigure by purchasing replacement parts. Splicing and fixing usually requires no specialized tools.
- Drip systems work well on timers and can easily be scheduled to operate in the middle of the night in hot climates, when evaporation is least likely to occur.
Limitations
- The emitters on drip systems can become clogged over time, requiring periodic inspection and some maintenance.
- In some systems, wind can misdirect the moisture from drip irrigation, wasting water and missing the desired ground area to be wetted. You can avoid this by not watering in strong wind and by ensuring your drip line is flat on the ground and designed to drip rather than spray.
- Drip systems usually involve a healthy up-front investment. They also take time and planning to set up.
Soaker hoses
What is the difference between a soaker hose and drip irrigation? A soaker hose is an easy-to-install porous tube that looks like a garden hose, except that it ‘weeps’ water along its entire length. Placed on the surface of your soil, soaker hoses deliver water steadily to your plants. Most soaker hoses are made from some combination of rubber and polyethylene plastic, but some BPA-free, polyurethane models are now available.

Premium Polyurethane Soaker Hose
Benefits
- Soaker hoses provide reliable water delivery at ground level, helping the foliage on your plants remain dry and free from fungal growth.
- Installing a soaker hose is easy: simply hook up to the nearest faucet or rain barrel and snake around the plants you want watered.
- Pressure regulators are usually not necessary with soaker hoses. Adjust the water pressure by opening or closing the flow from the tap.
- Soaker hoses usually have a low up-front investment for the average home garden. They work well on timers to further conserve water.
- Clogging is not usually an issue.
Limitations
- Soaker hoses are not as versatile in their configuration possibilities as drip systems. It’s not possible to close off sections of a soaker hose while allowing others to remain open.
- Soaker hoses work best on level ground since they don’t allow for pressure adjustment at different points along their length.
- The radius of coverage is not quite as broad with soaker hoses as it is with drip systems.
- Soaker hoses are less precise than drip systems and can’t be installed underground.
- Sometimes they can develop kinks, although double-walled soaker hoses have largely solved this problem.
- If you damage a soaker hose, it’s more difficult to repair. Sun damage and degradation can also take place over time. You can solve this by covering with a light mulch.
Drip irrigation vs soaker hose: Which irrigation system is best?
So which is better, a soaker hose or drip irrigation for a vegetable garden? That depends on your needs.
When should I use soaker hoses?
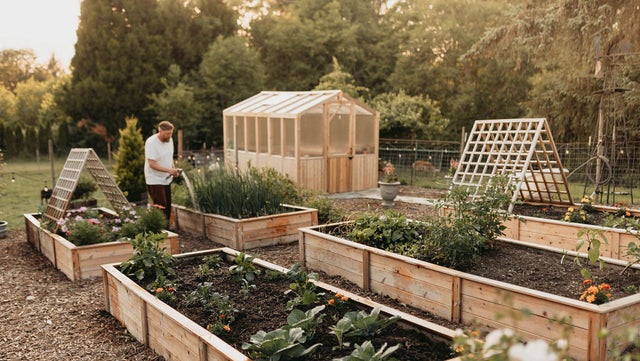
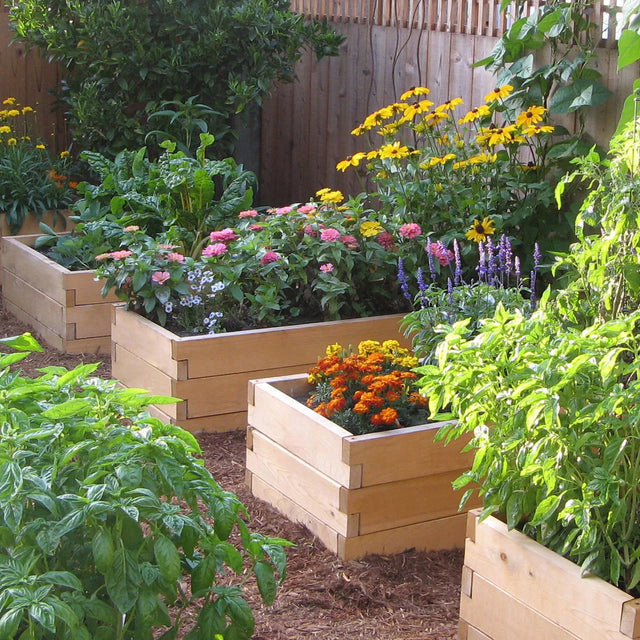
Soaker hoses work best for smaller gardens on level ground. In most cases they come with an inexpensive start-up cost and are easy to install and configure just by snaking around plants. They work very well in raised beds.
When should I use drip irrigation?
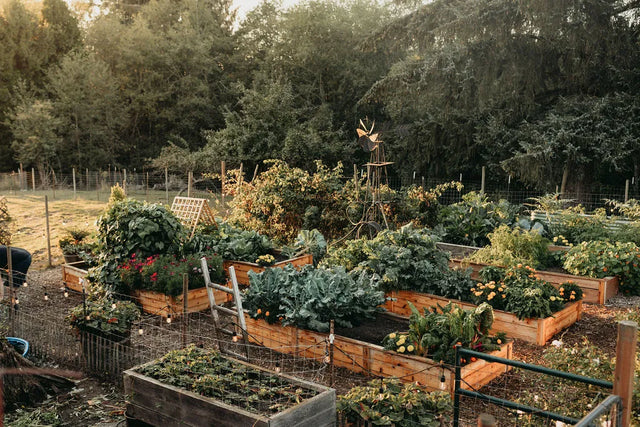
Drip irrigation works best in larger gardens configured in long, straight rows. Their versatility makes them a good choice for gardeners dealing with sloped ground. The higher start-up cost means a larger investment, but most drip systems will perform for years to come.
Soaker hose vs drip irrigation for raised beds
While we prefer drip irrigation systems for raised bed gardens, soaker hoses can work well if your garden is limited to one or two beds.
When determining which is better, drip irrigation or soaker hose, context matters.

Tree Ring Soaker Hose
Getting the most from your irrigation system
- Cover your irrigation lines (drip or soaker hoses) with 2-3 inches of mulch to protect from sunlight. Do not bury soaker hoses with soil unless they are designed for this purpose or you may clog the pores. If you plan to bury your drip irrigation, ensure that you have the type meant for subsurface installation and that you live in an area free from burrowing pests that may chew on the tubing.
- Stake down drip lines about once every three feet using landscaping staples or sections of wire hangers bent into a “U” shape.
- To ensure your plants are getting enough water each week, place a sealed container (about the size of a 14 ounce tin can) beneath the hose or an emitter and turn on your system. Time how long it takes to fill the container one inch. Give your plants double this amount each week, since most plants need about 2 inches of water per week to thrive. (Seedlings and some vegetable plants will need to be watered daily at the beginning of the gardening season.) Use a water meter for more precise readings.
- To water tree roots directly, consider a tree ring soaker hose.
- If you’re installing drip irrigation on a slope, install an air vent at the highest point on each circuit. Air vents (also known as air relief valves) prevent debris from entering your lines via suction. They also prevent trapped air from accumulating in the system, causing inaccurate meter readings and eventual damage. Mount air vents on risers connected to the top of the line when directed by your system manufacturer.
- Once or twice per season, clean the in-line water filter (if you have one) to remove any rust or debris.
- Inspect your system periodically throughout the season to remove plugs, straighten kinks, and ensure even moisture delivery.
- If you live in a cold climate, drain and put away all hoses and water lines during the dormant season. Store in a covered location.
 Responses (13)
About the Author
Shannon Cowan
The blog editor at Eartheasy.com, Shannon lives on six acres of land with her husband, daughters, and backyard poultry flock.