
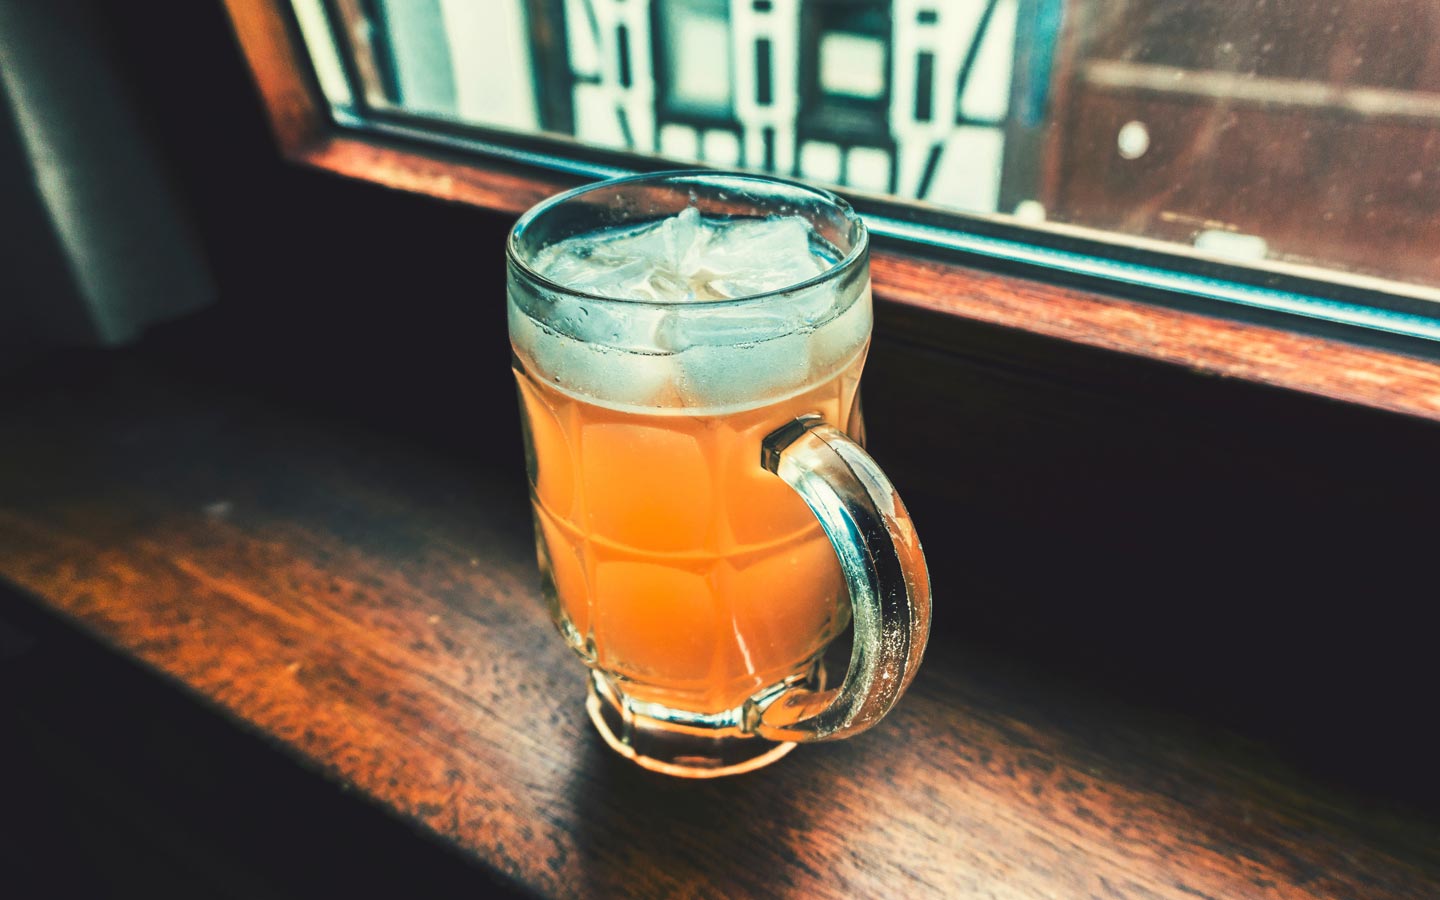
You can make your own beer with little effort and a fraction of the cost of commercial beer. This simple method uses just one fermenting process, so only one brewing container is needed.
If you’ve ever wondered how to make beer at home, this home beer making recipe is a good place to start. Large, reusable two liter plastic pop bottles are used to bottle the beer, saving the work of washing, bottling, and capping 60 – 70 regular-size glass bottles.
And with every batch, you’re sparing the environment the impact of manufacturing 60 – 70 aluminum cans or glass bottles.
Read on for a simple guide to DIY beer brewing.
What do you need to make your own beer?
Equipment
The few items you need to brew your own homemade beer can be found at your nearest beermaking supply shop or at most hardware stores.
- One 10-gallon “food grade” plastic pail with lid. Cost: about $45.00
- Siphon hose. You’ll need a 74″ length of 5/16″ “food grade” vinyl tubing. Cost: $10.00
- Hose clamp for siphon. Cost: $7.00
- Twelve two-liter plastic pop bottles, with lids.
- Hydrometer – Cost: $15.00. A thermometer is also useful.

Simplest homemade beer recipe
Ingredients
Malt extract
One 40oz. can of any flavor you like (light, dark, stout), or a 1.5kg “tall” can of the same. The 1.5kg can contains more malt extract so you can make a larger batch or use the same method here to make a richer beer. You can also buy ‘pre-hopped’ extract, which will impart more of a hop flavor to your beer.
Yeast
1 teaspoon brewers’ yeast. Note: some malt comes with little packets of yeast included.
Sugar
6 – 7 cups of regular white sugar, or 8 – 9 cups of corn sugar (preferred).
For even better results, consider using two cans of the malt extract and not using any sugar. This adds to the expense, but further enriches the taste of the beer.
These ingredients should cost between $10 – 15 depending on your choice of malt extract. The yield will be about 23 liters of beer, which equals 65 – 70 bottles or cans of beer, of the regular 345ml size.
How to brew

Sanitize
It has been said that 75% of brewing is good sanitation. First, clean all equipment with warm, lightly soapy water. Rinse well to remove soap residue. Then sanitize using household bleach at a quantity of 1 tablespoon/gallon of water. Or you can purchase a no-rinse acid sanitizer such as StarSan, which is effective and leaves no aftertaste.
Brew
- Pour 10 liters of fresh, cold water into the 10 gallon plastic pail (carboy). If the pail is new, wash it out first with a mixture of water and baking soda to remove the plastic smell.
- In your largest pot, bring seven liters of water to a boil.
- Add one can of malt extract. Stir and cook uncovered for 20 minutes.
- Add the sugar and stir to dissolve.
- As soon as the sugar is dissolved, pour contents into the carboy. Pour, or ‘splash’, the contents quickly, which adds air to the mixture. The more air the yeast gets initially, the better. It allows them to rapidly grow and get things going.
- Top up with bottled drinking water or tap water until temperature is neutral. (If using tap water, it is recommended to boil first to kill bacteria.) Test using a clean, sanitized thermometer. The carboy will now be a little more than half full.
- Sprinkle in the yeast and stir well. Cover with lid. (Set lid on loosely; if capped too tightly, a carboy can explode from the carbon dioxide gas that is produced.)
Keep covered and avoid unnecessary opening. The beer will be ready to bottle in 6- 10 days, depending on ambient temperature of the room and amount of sugar used in the brewing. Room temperature should be 68-75 Fahrenheit (20-24 Celsius) at the highest; 61-68 Fahrenheit (16-20 Celsius) is better but it will take the beer a day or two longer to ferment.
Test for readiness with a hydrometer. Set hydrometer into the beer and spin it once to release bubbles, which can cling to it and give a false reading. The “ready to bottle” reading should be about 1.008 for dark beers and 1.010-1.015 for light beers. If you don’t have a hydrometer, you can judge readiness by tasting a sample: it should not be sweet tasting. There should be little or no bubbling action in the beer.
Bottle
Set the carboy on a sturdy table and the 12 two-liter bottles on the floor, with newspaper underneath to catch drips or overflows. Using a funnel, put two level teaspoons of sugar in each bottle.
Siphon the beer into the bottles, trying not to disturb the sediment on the bottom of the carboy. (One method is to tape a plastic straw alongside the bottom end of the siphon hose with 1″ projecting beyond the end. The tip of the straw can touch the bottom of the carboy without the siphon drawing up sediment.) Tip the carboy as you near the bottom.
It is important to not splash or agitate the beer too much when bottling as any oxygen introduced can lead to oxidation and a “cardboard” taste.
As you fill the bottles, keep the end of the siphon tube near the bottom of the bottle to avoid frothing. It is essential that the bottles are not completely filled: leave an airspace. Screw the caps on tightly. Invert each bottle and shake to dissolve sugar on the bottom. Set bottles in a warm area for the first few days, then store in a dark, cool spot. You can drink the beer within a few days of bottling, but it will improve with age.
Beer enhancements
Once you’ve made a few batches of your own homemade beer, it’s fun to experiment with different ‘enhancements’. When adding your own personal touch, however, caution is always a good idea; try things in small amounts so as not to overdo it.
Here are few suggestions:
Hops
Put whole hops (dried) or hop flakes into a cheesecloth bag and add to the cooking malt. A handful is plenty. This will give a distinctive hop flavor to the beer and will help preserve the final product. Technically beer made without hops is known as ale.
Molasses
Add a cup or two of molasses to the malt while it’s cooking. Cut back a bit on the sugar. This will impart a darker, more full-bodied taste to the beer. Blackstrap molasses is darker and richer; fancy molasses is lighter.
Licorice
Throw a few sticks of licorice into the malt while it’s cooking. Leave in for 5 – 10 minutes, then remove any unmelted pieces before pouring the brew into the carboy.
Herb teas
Try adding 3 or 4 teabags of Celestial Seasonings “Bengal Spice” tea, or “Apple Cinnamon Spice” tea. Add to the cooking malt and remove after 10 minutes. This will add a bit of spice to the taste of the beer, a very interesting flavor.
Herbs
When not using hops, many people use a combination of herbs to balance the sweetness of the malt (a preparation known as ‘gruit’). Common herbs include sweet gale, yarrow, Labrador tea, juniper, nettle, mugwort, aniseed, or caraway. These preparations are usually added during cooking and fermentation.
Enjoy!
Pour your beer carefully to avoid disturbing the sediment. Re-capped, partially full bottles will retain their “fizz” for up to two weeks, so don’t feel you have to empty the bottle (unless you’re looking for an excuse!). After two weeks, unfinished bottles should be emptied.
You may find that batches of homemade beer can vary in quality. Darker beers will work best with this recipe for the most consistent results. If your beer is a little short on “fizz” or falls a little short of your expectations, try mixing it 50/50 with commercial beer.
If the empty bottles are rinsed out immediately, washing them later will be easy. Simply rinse with warm, lightly soapy water. Rinse well to remove soap residue. A mild bleach solution can also be used to clean the bottles.
Remember, your beer will continue to improve for months. It’s a good idea to start a second batch right away so you can get well enough ahead to enjoy fully matured beer.
Micro-brewery homebrew kits
Is beer easy to make? Yes, but micro-brewery kits, now available from malt extract suppliers, make it even easier for people to get started with home beermaking. These kits come with everything you need to brew your own beer. For more information, talk to your local supplier to find the kit that’s right for you.