


Sprouts are the powerhouse of the vegetable world. Packed with nutrients and easy to grow, they're finished in days and often provide more vitamins and minerals than your favorite vegetables. They're also an excellent way to get some vitamins without making another trip to the grocery store.
If, like many people, you find yourself spending more time indoors these days, growing your own sprouts is a good way to produce quick nutrients without much cost. Inexpensive and tasty, sprouts contribute to your food supply with just a few minutes of rinsing per day.
Their health benefits are impressive: some varieties have been found to contain cancer-fighting agents, reducing the risk of breast and colon cancer. Multiple studies have linked broccoli sprouts to reduced risk of stroke, high blood pressure and cardiovascular disease, along with reductions in rheumatoid arthritis, allergies and asthma.
Another, earlier study from John Hopkins University noted that broccoli sprouts have higher levels of cancer fighting compounds than broccoli heads—up to 100 times higher!
So why are sprouts often overlooked as a basic winter vegetable? A few easy steps in the home kitchen easily converts naysayers and brings satisfying results. For those interested in growing sprouts for health or just their fresh taste, here are a few things to consider.
What are sprouts?
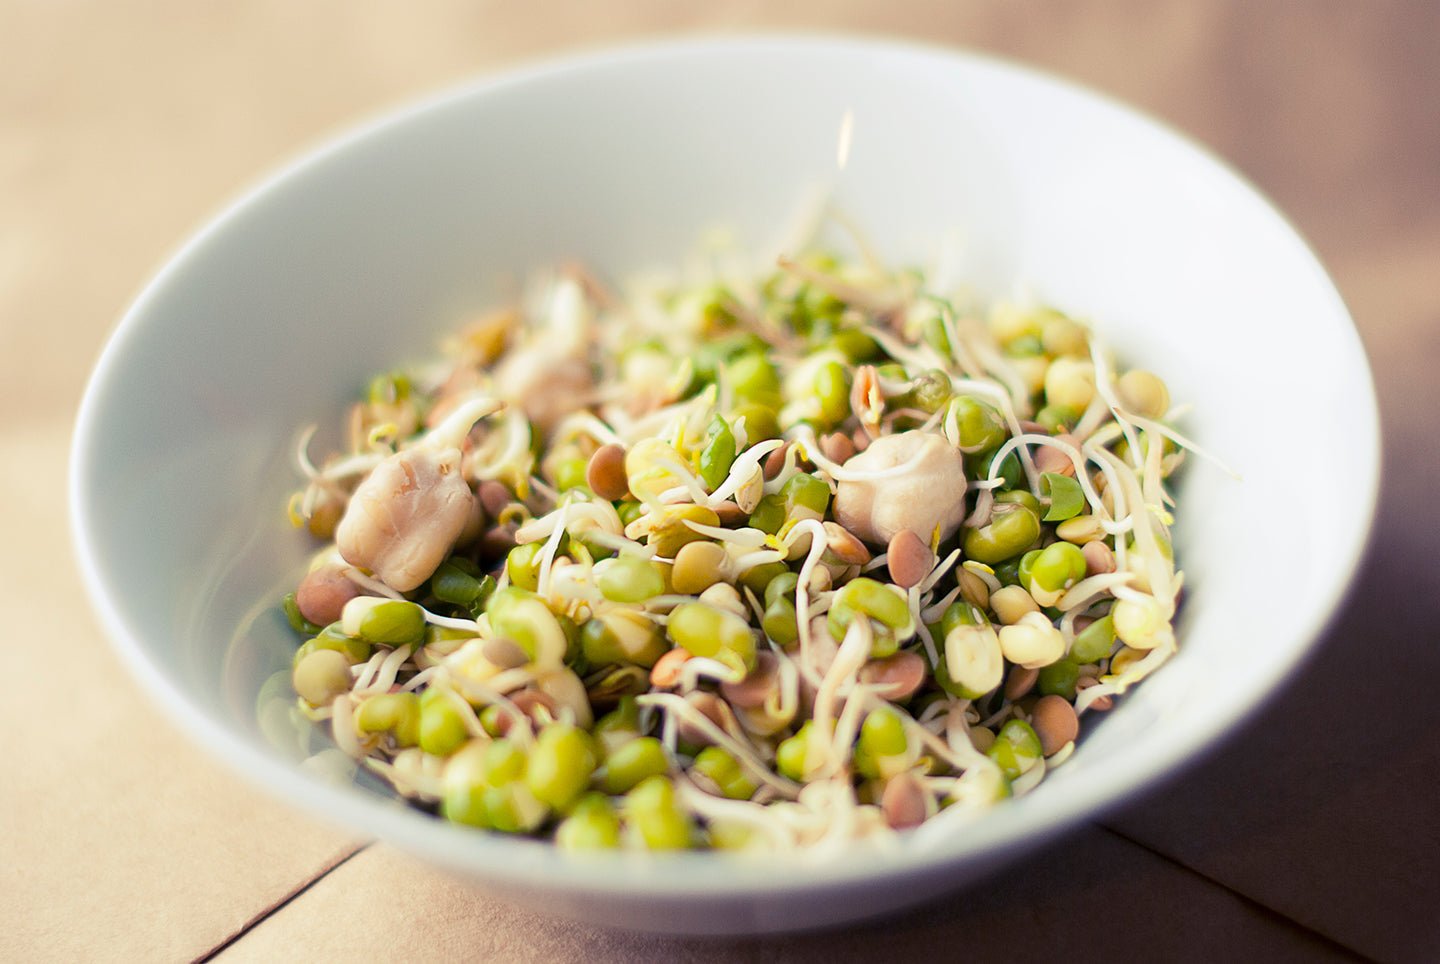
Sprouts are tiny plants grown without soil. In most cases, nature packages seeds with enough energy to germinate and produce two small leaves before requiring inputs from sunlight and soil. Sprouting encourages this transformation on your kitchen counter along with water and you consume the results. Leaves, stem and root: all are delicious additions to sandwiches, salads, dips, spreads and stir fries.

What equipment do you need to grow sprouts?
A variety of sprouting equipment is available today, both online and in specialty shops. Designs range from simple containers with built-in sieves to multi-tiered set-ups for sprouting several varieties at once (or for staggering sprouts of one kind). But sophisticated set-ups aren’t necessary if you’re trying your hand at sprouting for the first time.
The simplest sprouting method uses a glass jar with cheesecloth secured by a rubber band over the opening. Screening fastened by a metal screw-top ring works just as well. Other necessities include clean water (non-chlorinated is best) and untreated seeds (more on seeds below).

Choosing which seeds to sprout
In theory, almost any seed will sprout given the right conditions, but some are better than others for eating in their sprouted state. Seeds marketed specifically for sprouting are also free of the harmful fungicides and other chemicals that some seed growers use to treat their seeds.
Ensure your seeds are meant for sprouting before you start and choose the seed best suited for your purpose. Over the past three decades, select seeds have emerged as popular choices thanks to their ability to grow quickly and stay fresh. Some of these choices include:
|
Sprout Type |
Flavor |
Common Uses |
|
alfalfa |
mild |
salads, sandwiches |
|
broccoli |
distinct |
salads, sandwiches, dips, spreads |
|
clover |
mild |
salads, sandwiches |
|
fenugreek |
bitter |
salads, stir fries (good mixed with other sprouts) |
|
lentils (blue, red, green) |
varies |
salads, soups, dips |
|
mung beans |
mild |
salads, stir fries |
|
mustard (oriental) |
spicy |
salads, sandwiches, dips |
|
radish |
spicy |
salads, sandwiches, dips |
|
quinoa |
distinct |
salads, dips, soups, spreads |
|
sunflower |
distinct (almost peppery) |
salads, sandwiches, spreads |
Seeds and mixes are available online from sprout and seed companies or at your local health food store. Mixes include more than one seed type, and add nice variety to your favorite dish thanks to their blend of flavors.

How to sprout seeds
A few tablespoons to half a cup of seed is all you need to produce ample sprouts for sandwiches, salads and other dishes. Sprouts will double or triple in size, depending on the size of the seed and the variety you are sprouting. Keeping things small will ensure you don’t end up with sprouts going bad in your refrigerator.
In general, use 2-3 tablespoons of small sprouting seed (alfalfa or clover) and 1/3-1/2 cup of larger sprouting seed (lentils or beans) per batch. Quinoa is one exception: this ‘pseudo-grain’ sprouts small and stays small.
Here are some other general rules of thumb to observe when growing sprouts at home.
- Rinse and clean your seeds to remove any dust or other debris.
- Soak your seeds to “wake” them up and encourage sprouting. While you can skip this step for a few, lesser-known sprouts, soaking seeds is an important first step for most varieties. Cover your seeds completely and soak for 6-12 hours. (Be sure to poke down any floaters.)
- After soaking, drain water from the seeds and spread evenly in your container so seeds form a thin layer. Avoid piling seeds on top of one another. If using a jar, try laying on one side for more even distribution.
- Rinse and drain 1-2 times per day. (Note: rinse hulled sunflower seeds more frequently, since they tend to get slimy. Rinse or pick off seed skins to prevent rotting.)
- After your seeds have sprouted, continue to rinse and drain regularly (every 8-12 hours) until sprouts reach the desired length.
- Eat fresh or store in the fridge until consumed. Most sprouts last 1-2 weeks when kept cool.

Average days to finish sprouts
Lentils: 3-4 days
Mung beans: 3-5 days
Radishes: 4-5 days
Mustards: 3-6 days
Alfalfa and clovers: 5-6 days
Keeping sprouts safe
Despite their health benefits, instances of E. coli or Salmonella bacteria have been known to occur in commercially grown sprouts. Research suggests that some seed might have been contaminated by fertilizers while growing in the field. To ensure that your seed is safe, purchase organic or “pathogen-free” sprouting seed where possible.
Always use clean water, utensils and sprouting containers. Store finished sprouts in the refrigerator and consume while fresh. Like any food eaten raw, sprouts may carry a risk of food-borne illness, but this risk is extremely low.
A word about micro-greens
Micro-greens are similar to sprouts but grow in soil or another growing medium. They also tend to be leafier than sprouts, since they are baby plants.
Sunflower seeds, arugula, Swiss chard and other greens do very well as micro-greens, because the growing medium provides the added nutrients they need to thrive. After trying your hand at sprouting, micro-greens are a great next step to extend both the production and nutrition of your winter greens.
Sprouting for health
Growing your own sprouts is a simple way to contribute to your food supply without adding to your grocery bill. It’s also a great way to enjoy the taste of homegrown food during these last days of winter.
This article was originally published in 2013 and has been updated for accuracy and comprehensiveness.
 Responses (9)
About the Author
Shannon Cowan
Shannon Cowan is the blog editor at Eartheasy.com. She lives on six acres of land with her husband, daughters, and backyard poultry flock.