
Shop by product
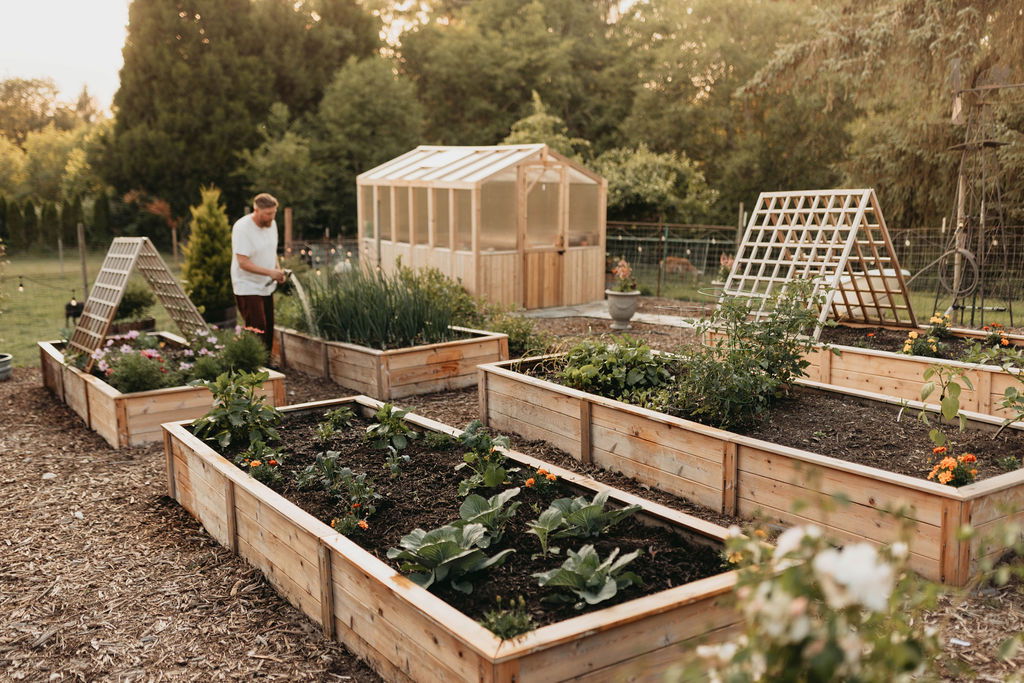
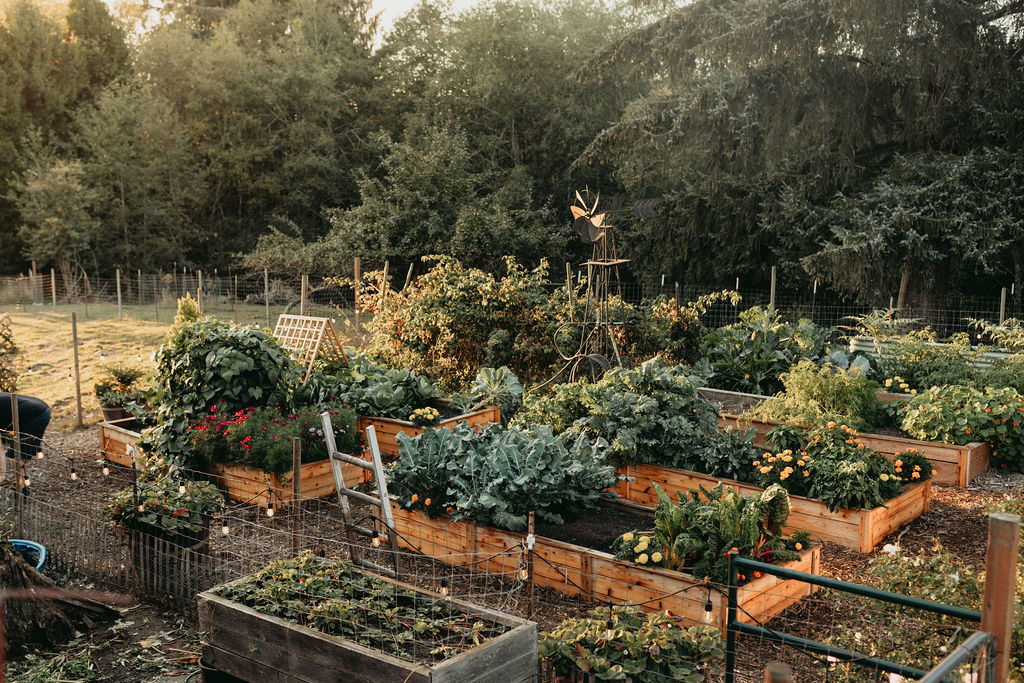
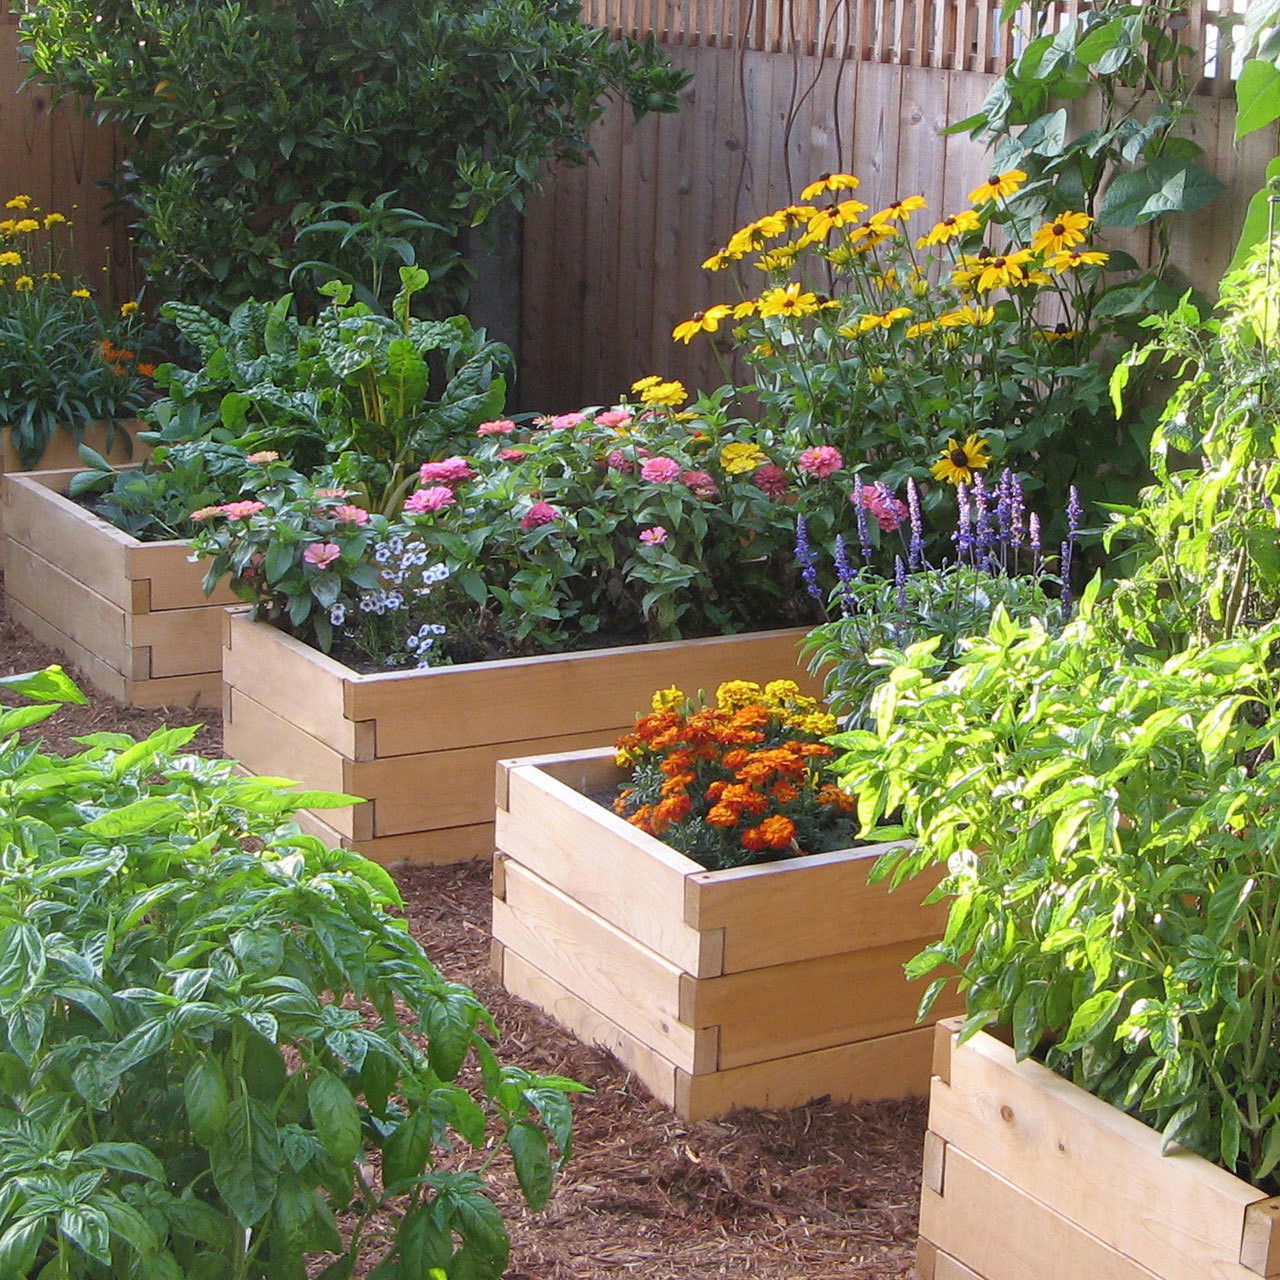
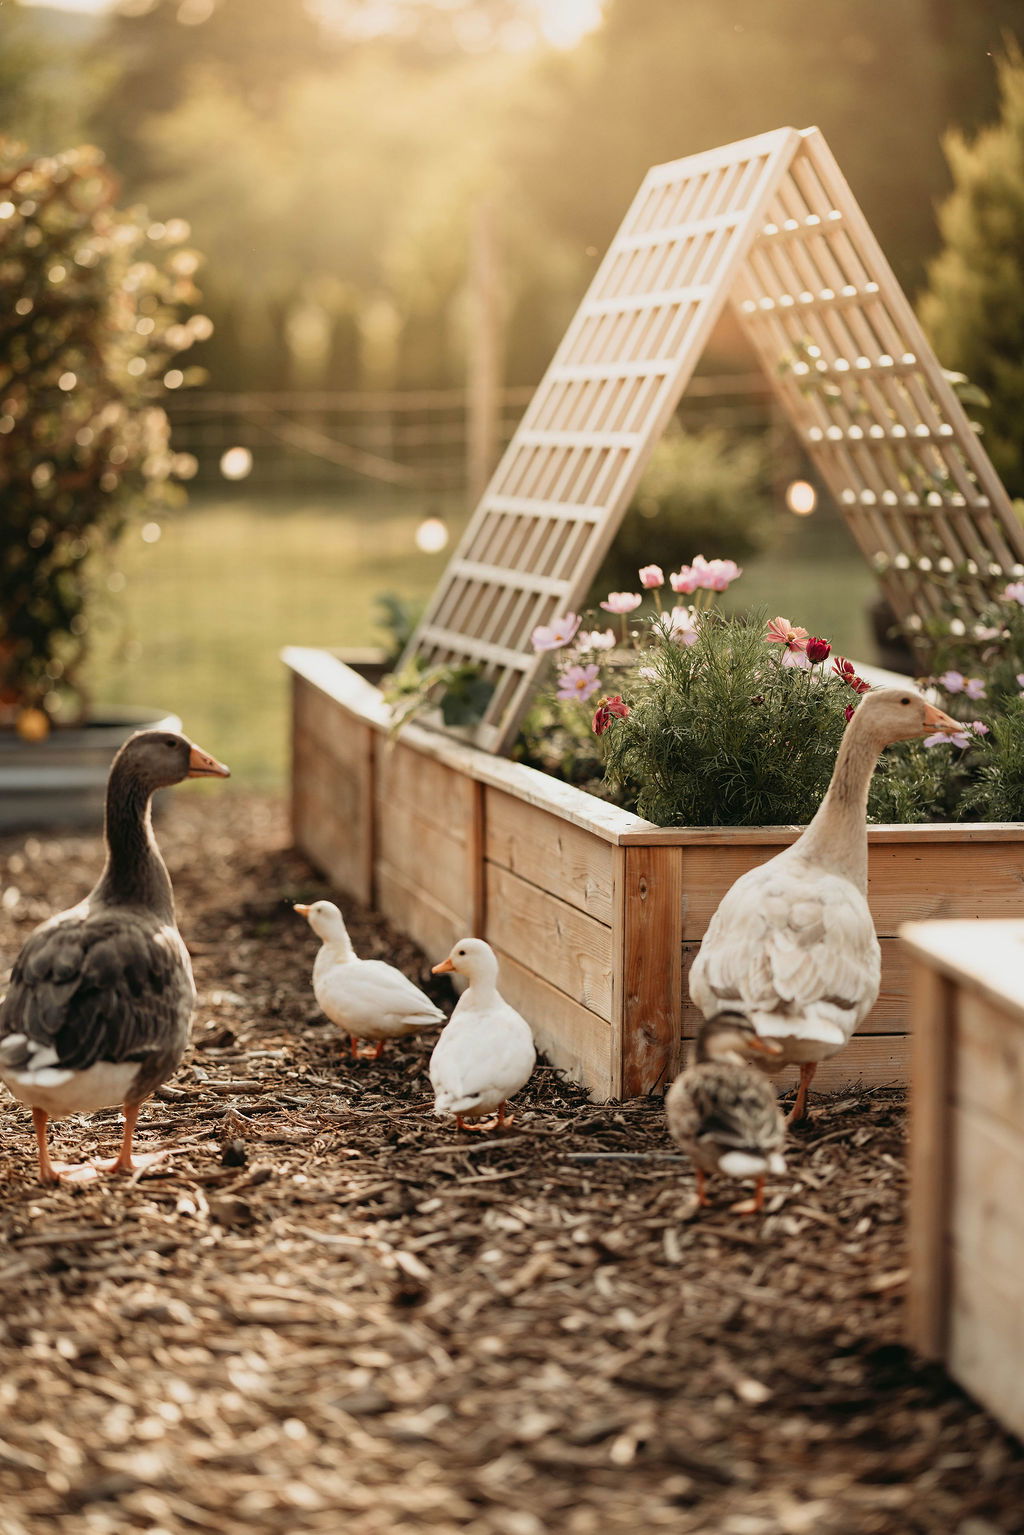
raised garden beds
Vertical gardening
Planters & Potting tables
Complete garden kits
composting
greenhouses
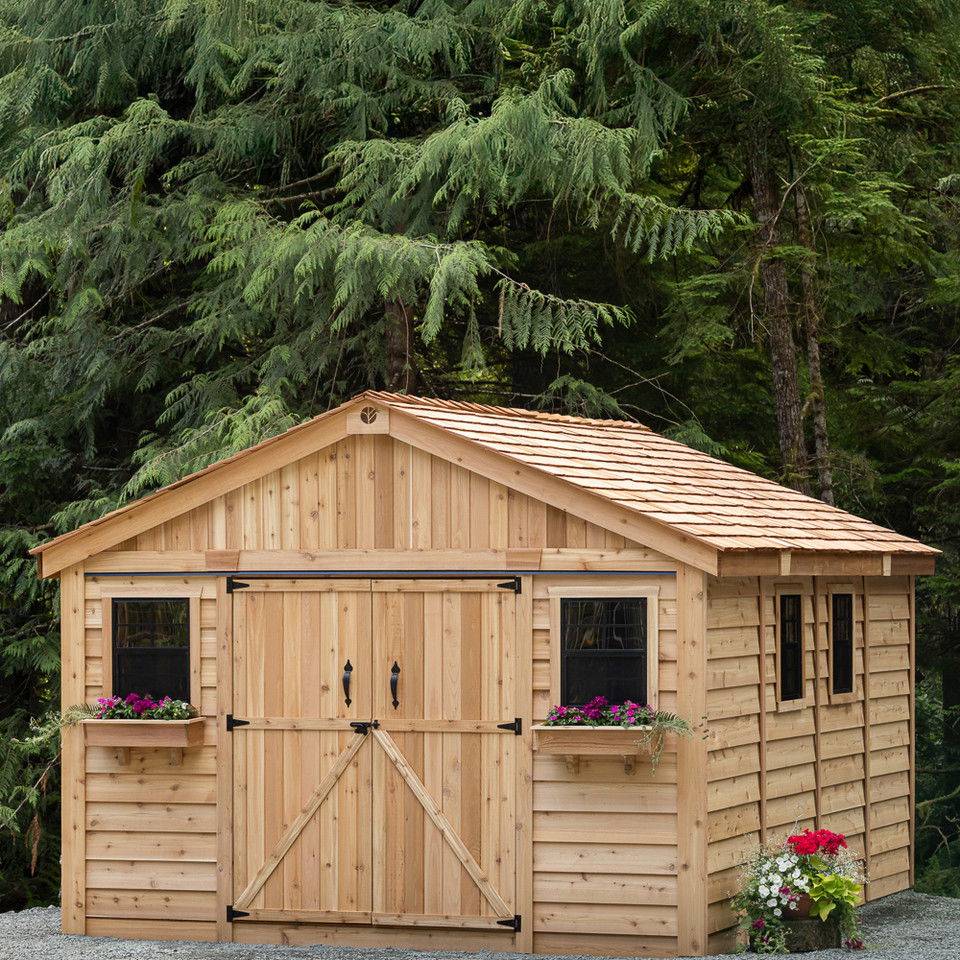
sheds & Structures
Shed & Storage Accessories
Fruit trees & plants
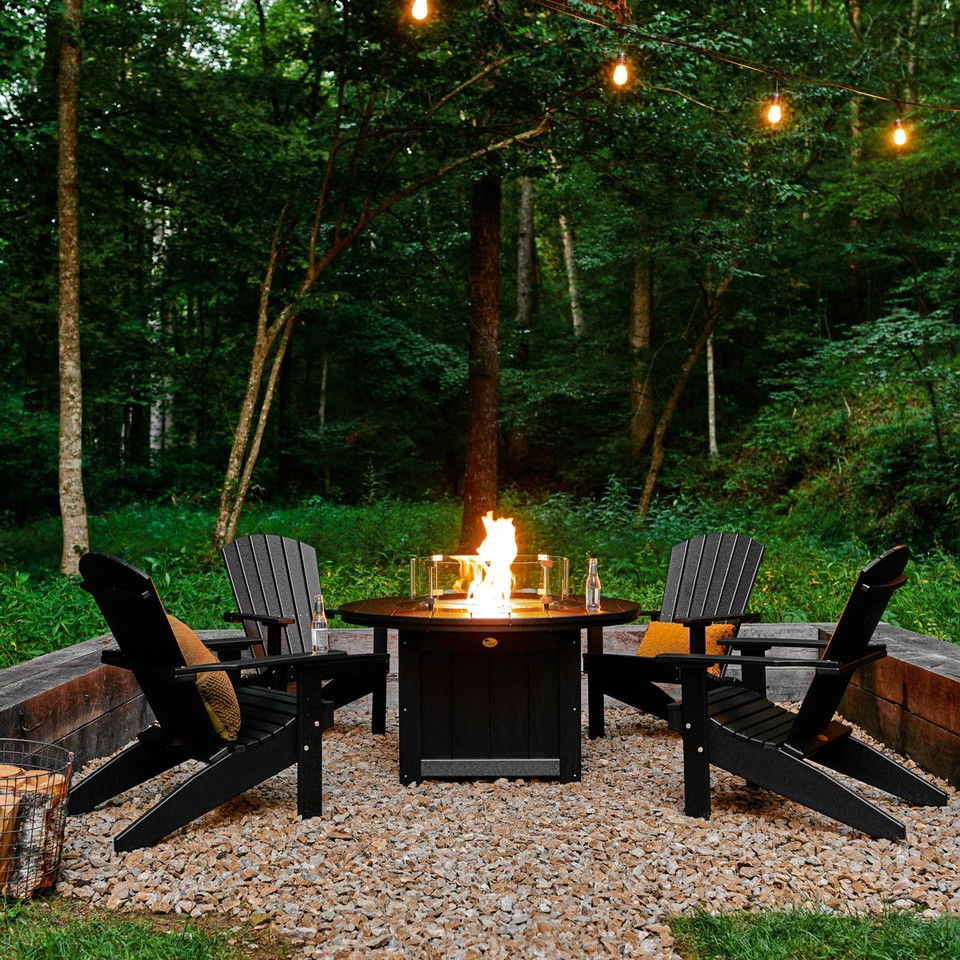
outdoor living
natural lawn care
watering & Conservation
garden supplies
indoor gardening
backyard habitat & Coops
Non-toxic pest control


Get $15 Off
Take $15 off $100+ and get our top tips and inspiration for planning, growing, and building your outdoor space.


Categories
© 2026. All rights reserved.
